Business Central (cloud-only!) includes one-dimensional (1D) barcode fonts since Microsoft Dynamics 365 Business Central 2020 wave 2 (17.0) was released in October 2020. It is a great improvement to how developers can handle requirements from their clients to print various reports with different types of bar codes.
However, one of the most missing features was 2D codes that are more and more used by automation in industry and warehouses. The two-dimensional (2D) barcode is, for example, a QR Code or Aztec code with an incredible number of various usage. Therefore Microsoft added new support for 2D barcodes with the latest update of Microsoft Dynamics 365 Business Central 2021 wave 2 (19.1), released during the last days of the previous year in December 2021.
This article will look at how to create 2D (but also 1D) barcodes.
One-Dimensional (1D) barcodes
All the information in One-Dimensional barcodes is organized horizontally in bar and space widths and read left to right by a scanner. It is still the most common barcode in use; however, 1-D barcodes are less effective in automatic processes as they are harder to read by machines.
Supported types
-
- Code39
- Code93
- Code128
- Codabar
- Interleave 2 of 5
- MSI Plessey
- USPS Postnet
- UPC-A
- UPC-E
- EAN-8
- EAN-13
Create 1-D barcode
Creating any of the barcodes listed above is really easy as Microsoft added all required functions and encapsulated the logic internally so we do not have to care about specific details.
The most important objects are Enum “Barcode Symbology” and Interface “Barcode Font Provider”. The enum contains (as of now, 2022-03-10) only one value – IDAutomation1D. This enum also contains an implementation of required methods from Interface “Barcode Font Provider”.
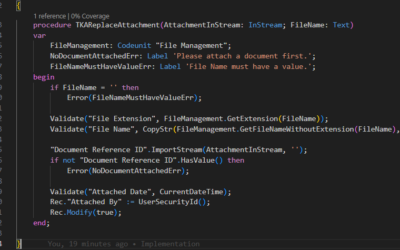
See the code below to understand how to create barcode text in a specific format for EAN13. To use another barcode format, just change the first line and choose a different format from “Barcode Symbology”.

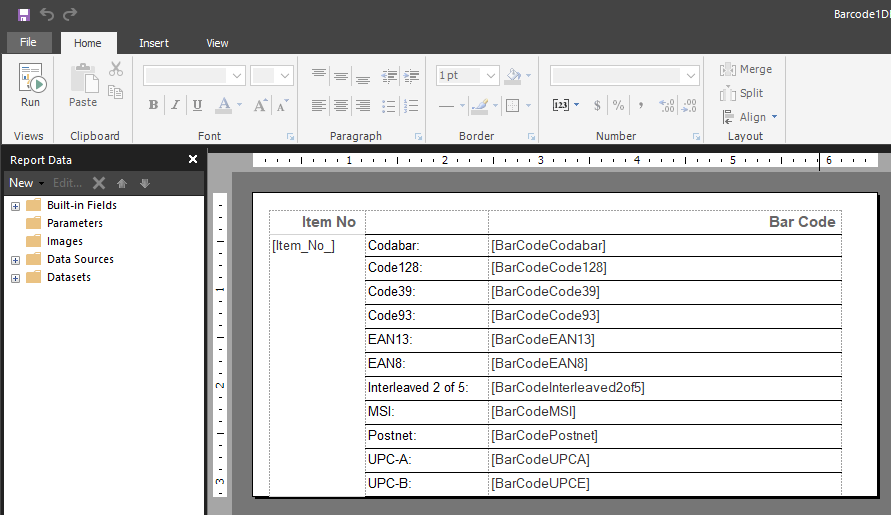
Then we have to add the barcode to the report itself. Just add your variable (BarCodeEAN13 in the picture above) as a Column of your DataItem and show the Column in the report as any other field from your data item.
Now the annoying part… You have to set the right Font (Right Click on your field with barcode data field -> “Text Box Properties” -> “Font”) based on the selected barcode type. Usually, you do not have those fonts installed locally (as they are paid and Microsoft licensed them only for cloud BC version) so you can not choose them from installed fonts.
So, instead of choosing the font using the dropdown menu, you have to write down the font by yourself. And how to find which font to use? The easiest way is to go through Microsoft Docs (see here), find the right link in the table based on your selected barcode type and open the “See…” link).
For example Code128 barcode type
Once you click on the “See…” link in the table near the Code128 section, you will be redirected to the IDAutomation web page (https://www.idautomation.com/barcode-fonts/code-128/). IDAutomation is the owner of all these fonts (1-D and 2-D) from whom Microsoft obtained the license. In addition, if you want to use the same way for developing barcodes even for Business Central on-premises, you have to buy the right license on the same page.
Back to the main topic… To find the font name, go to the “User Manual” section and find the “Purchased Font Name” section. It is usually a table with at least three columns. From all the columns, the first one contains the font name we have to put in the report builder. See the picture below.
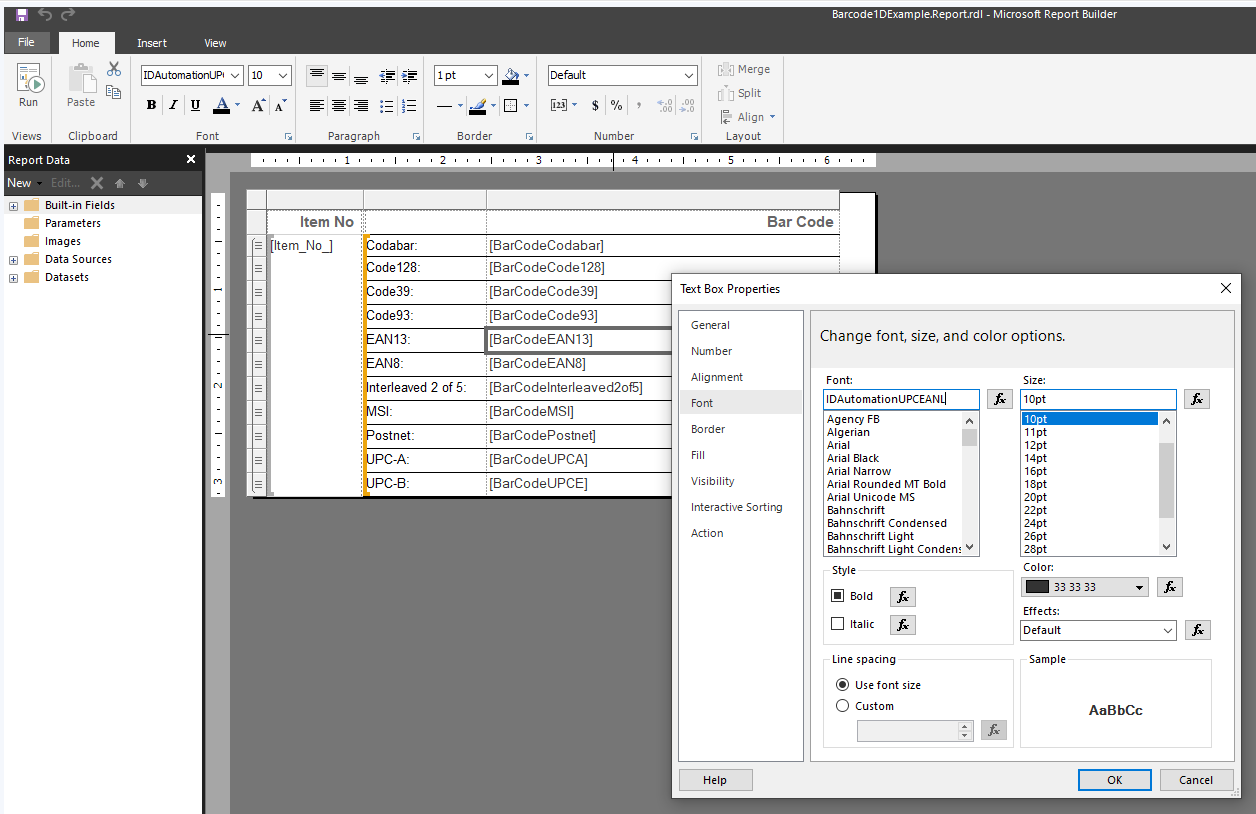
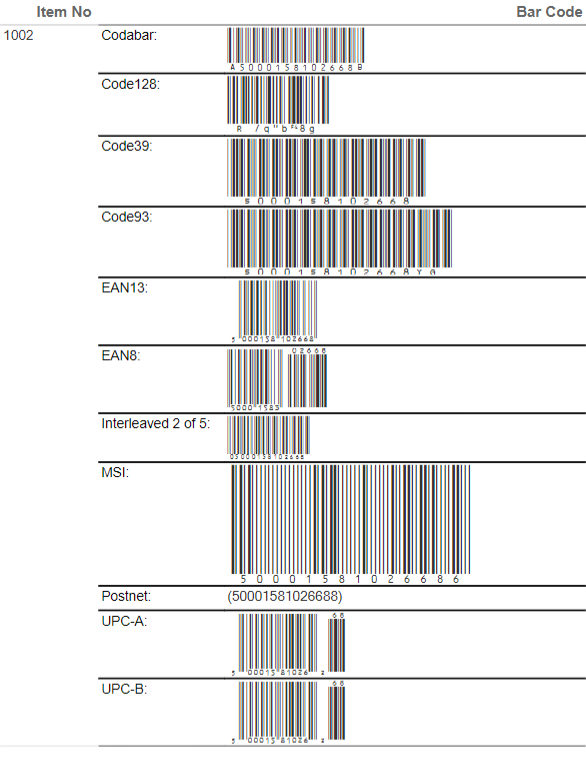
And that’s it. It is a super easy way for creating any barcode functionality!
Two-Dimensional (2D) barcodes
Information in Two-Dimensional barcodes (matrix code) is a newer version of barcodes. The biggest advantages are the ability to store significantly more information than 1-D barcodes and the better readability by machines even in smaller sizes.
Supported types
-
- Aztec 2D
- Data Matrix
- Maxicode
- PDF417
- QR-Code
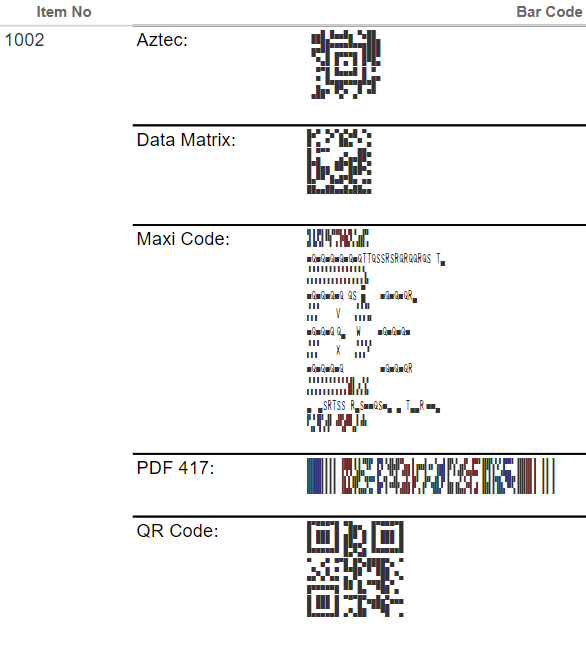
The creation of 2D barcodes is similar to 1D barcodes, just add “2D” to object names and that’s all. See the picture below.

Add the barcode string to the report the same way as for 1D barcodes.
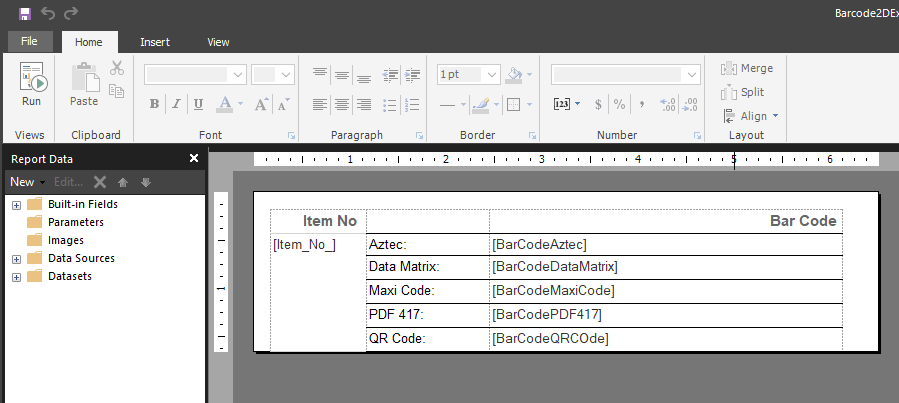
And set the right font. It’s easier than 1D as all 2D barcode types share the same font. Details can be found on the same page as for 1D barcodes.
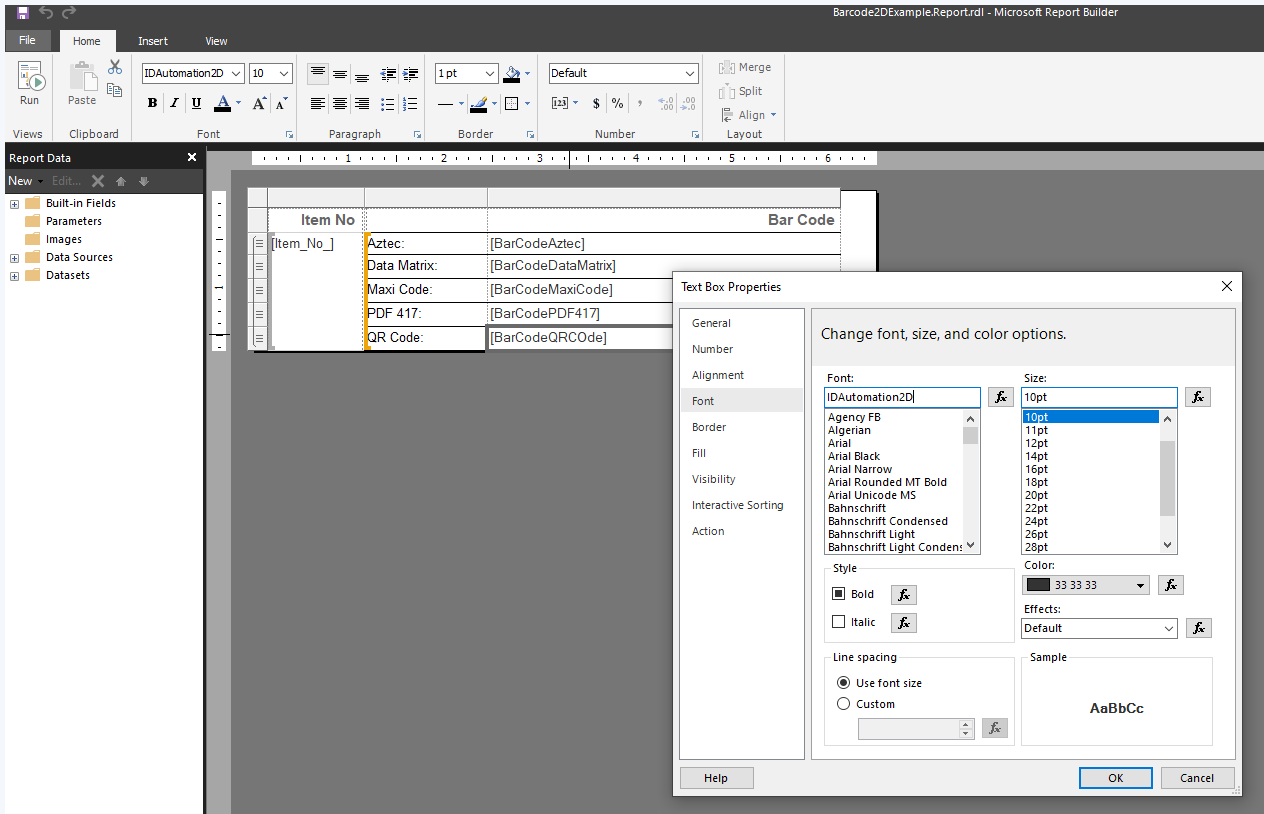
And results as expected.
